Finding affordable living in most big cities is difficult. Like me, you’re probably habituating a space that is reminiscent of its previous owners (as indicated by the outdated bedroom wall colour you’ve since painted over with Cloud White). Your home, like mine, shows real potential and it’s been screaming “fix me!” ever since you first moved in. But for most, dropping big bucks on a major renovation is simply not on the books - and for us renters, it’s probably not even an option.
I moved into my rented apartment 3 years ago and have been slowly chipping away at painting and redecorating every room so that they reflect my Modern/Bohemian style. The last 2 rooms in the apartment that have remained untouched however, are the bathroom and kitchen - simply because they seemed like the least affordable projects to tackle. But I want to enjoy the entirety of my home so when I recently decided that I just couldn't live with this kitchen any longer, I set out to find a way to revamp it on a budget. The first item on my list_ updating the dated, brown, backsplash tiles.


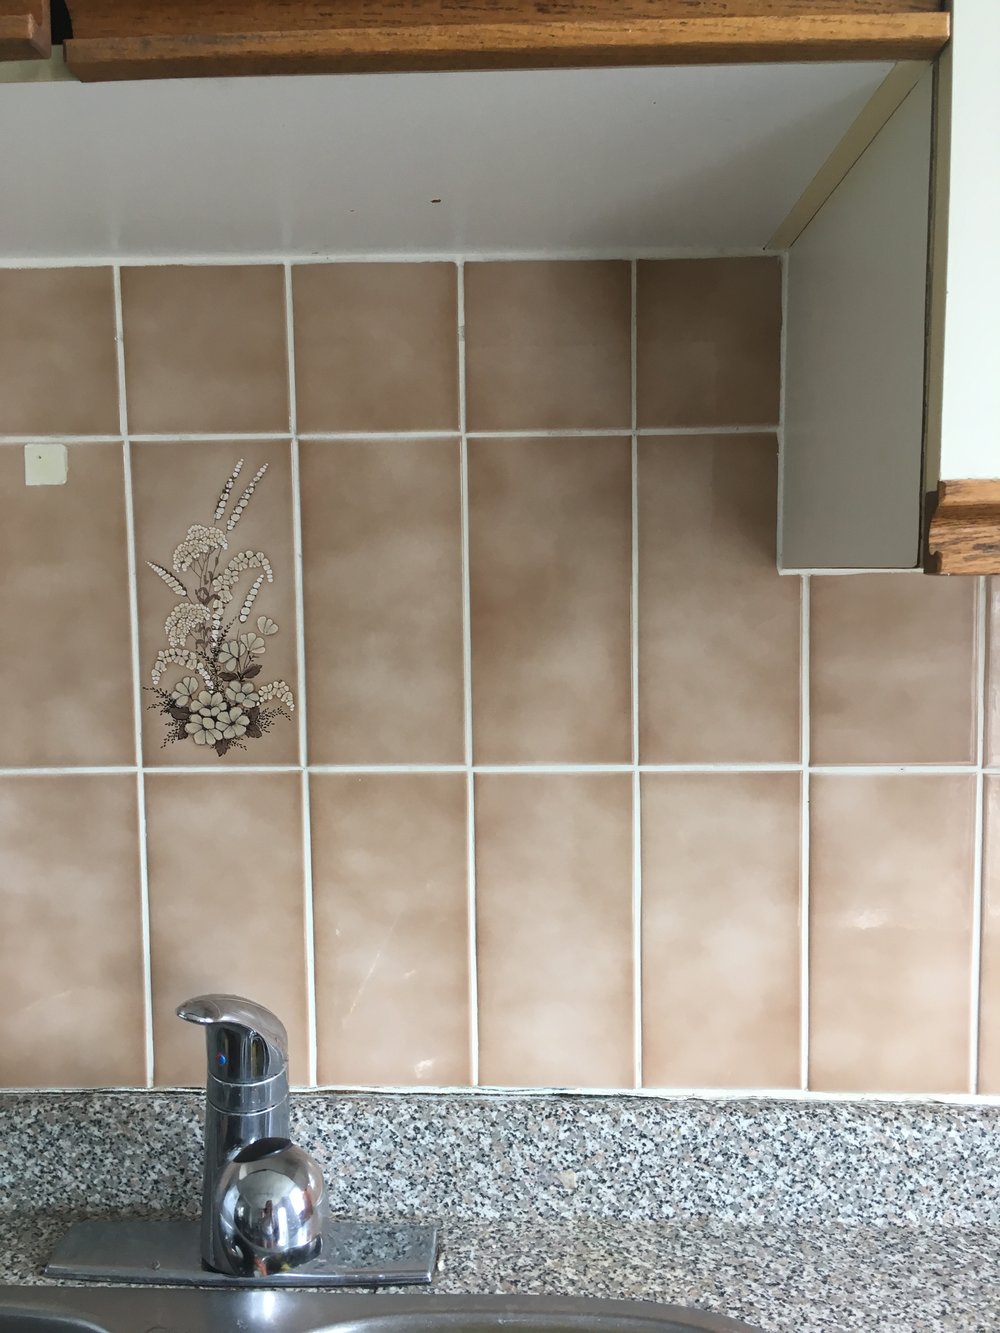
Feast your eyes on the only corner of my apartment that I’ve always been militant about keeping out of photos. I knew that taking up the tiles and replacing them would be expensive and labouring, which meant that for the time being I’d be stuck with them, but stuck with them as is? No way!
I'm painting them! I pulled off this project in one day and even better, I avoided all the mess and fuss that's usually associated with redoing tiles. Absolutely no sanding, or construction required. And the whole thing cost less than $80.
HERE'S HOW I DID IT:
You will need -
*T.S.P All Purpose Heavy Duty Cleaner
*Zinsser B-I-N Shellac Base Primer
*Behr Alkyd Satin Enamel Melamine Finish Paint
*Oil Based Paint Brush
*Latex based paint brush
*Bennett Extra High Density Foam Roller Kit
*1 heavy duty scrubbing pad sponge
*rubber gloves
Directions -
1) Mix T.S.P powder with water as per package instructions. Put on gloves (this stuff is HEAVY duty), soak sponge in solution and scrub tiles very well, to remove all dirt, oil and debris. Once all tiles are clean, let air dry or wipe down with paper towel.
2) Pour B-I-N into disposable paint tray (or coat paint tray in tin foil and dispose of it afterwards).
3) Apply 1 generous coat of B-I-N primer to tiles - use oil based brush to get BIN in corners and tiles grooves. B-I-N dries completely in 30 minutes.

4. Once finished priming, discard the foam roller and oil based paint brush (unless you have mineral spirits to clean the oil paint off). Discard the disposable paint try and/or the aluminum foil.
5. Tiles are now ready for Behr Alkyd paint. This paint is AMAZING because It combines the performance and durability of an oil-based paint with ease and convenience of a water-based paint. Pour the Behr paint into the paint tray and repeat the same process by using the latex brush to get enamel paint into corners and tile grooves. Roll paint over brush marks to achieve a smooth, line free surface. Make your way across the tiles rolling on the first coat.
6. Let dry for 2-4 hours and apply the second coat. Clean brush and foam roller with soap and water - they are good to use a second time if cleaned properly.
7. Once second coat is applied, let set for 7 days before rinsing or cleaning the surface with a mild non-abrasive cleaner. This stuff dries rock hard and has incredible strain repellence - making it the perfect choice for a kitchen back splash.

And finished! Doesn’t it look a million times better?!
Already, I’m feeling the relief of this long needed update. Even though the backsplash is a small change, the space feels fresher. Inspiration has hit and I can finally see the potential of my kitchen again. That’s the thing about a renovation, once you start, you can’t stop. Fortunately, the tiles have made it very obvious what needs to be tackled next. So in part two of my low-budget kitchen renovation, I’ll show you how I modernize my majorly outdated kitchen cabinets.
Stay tuned!
Back to ALL BLOGS


Comments